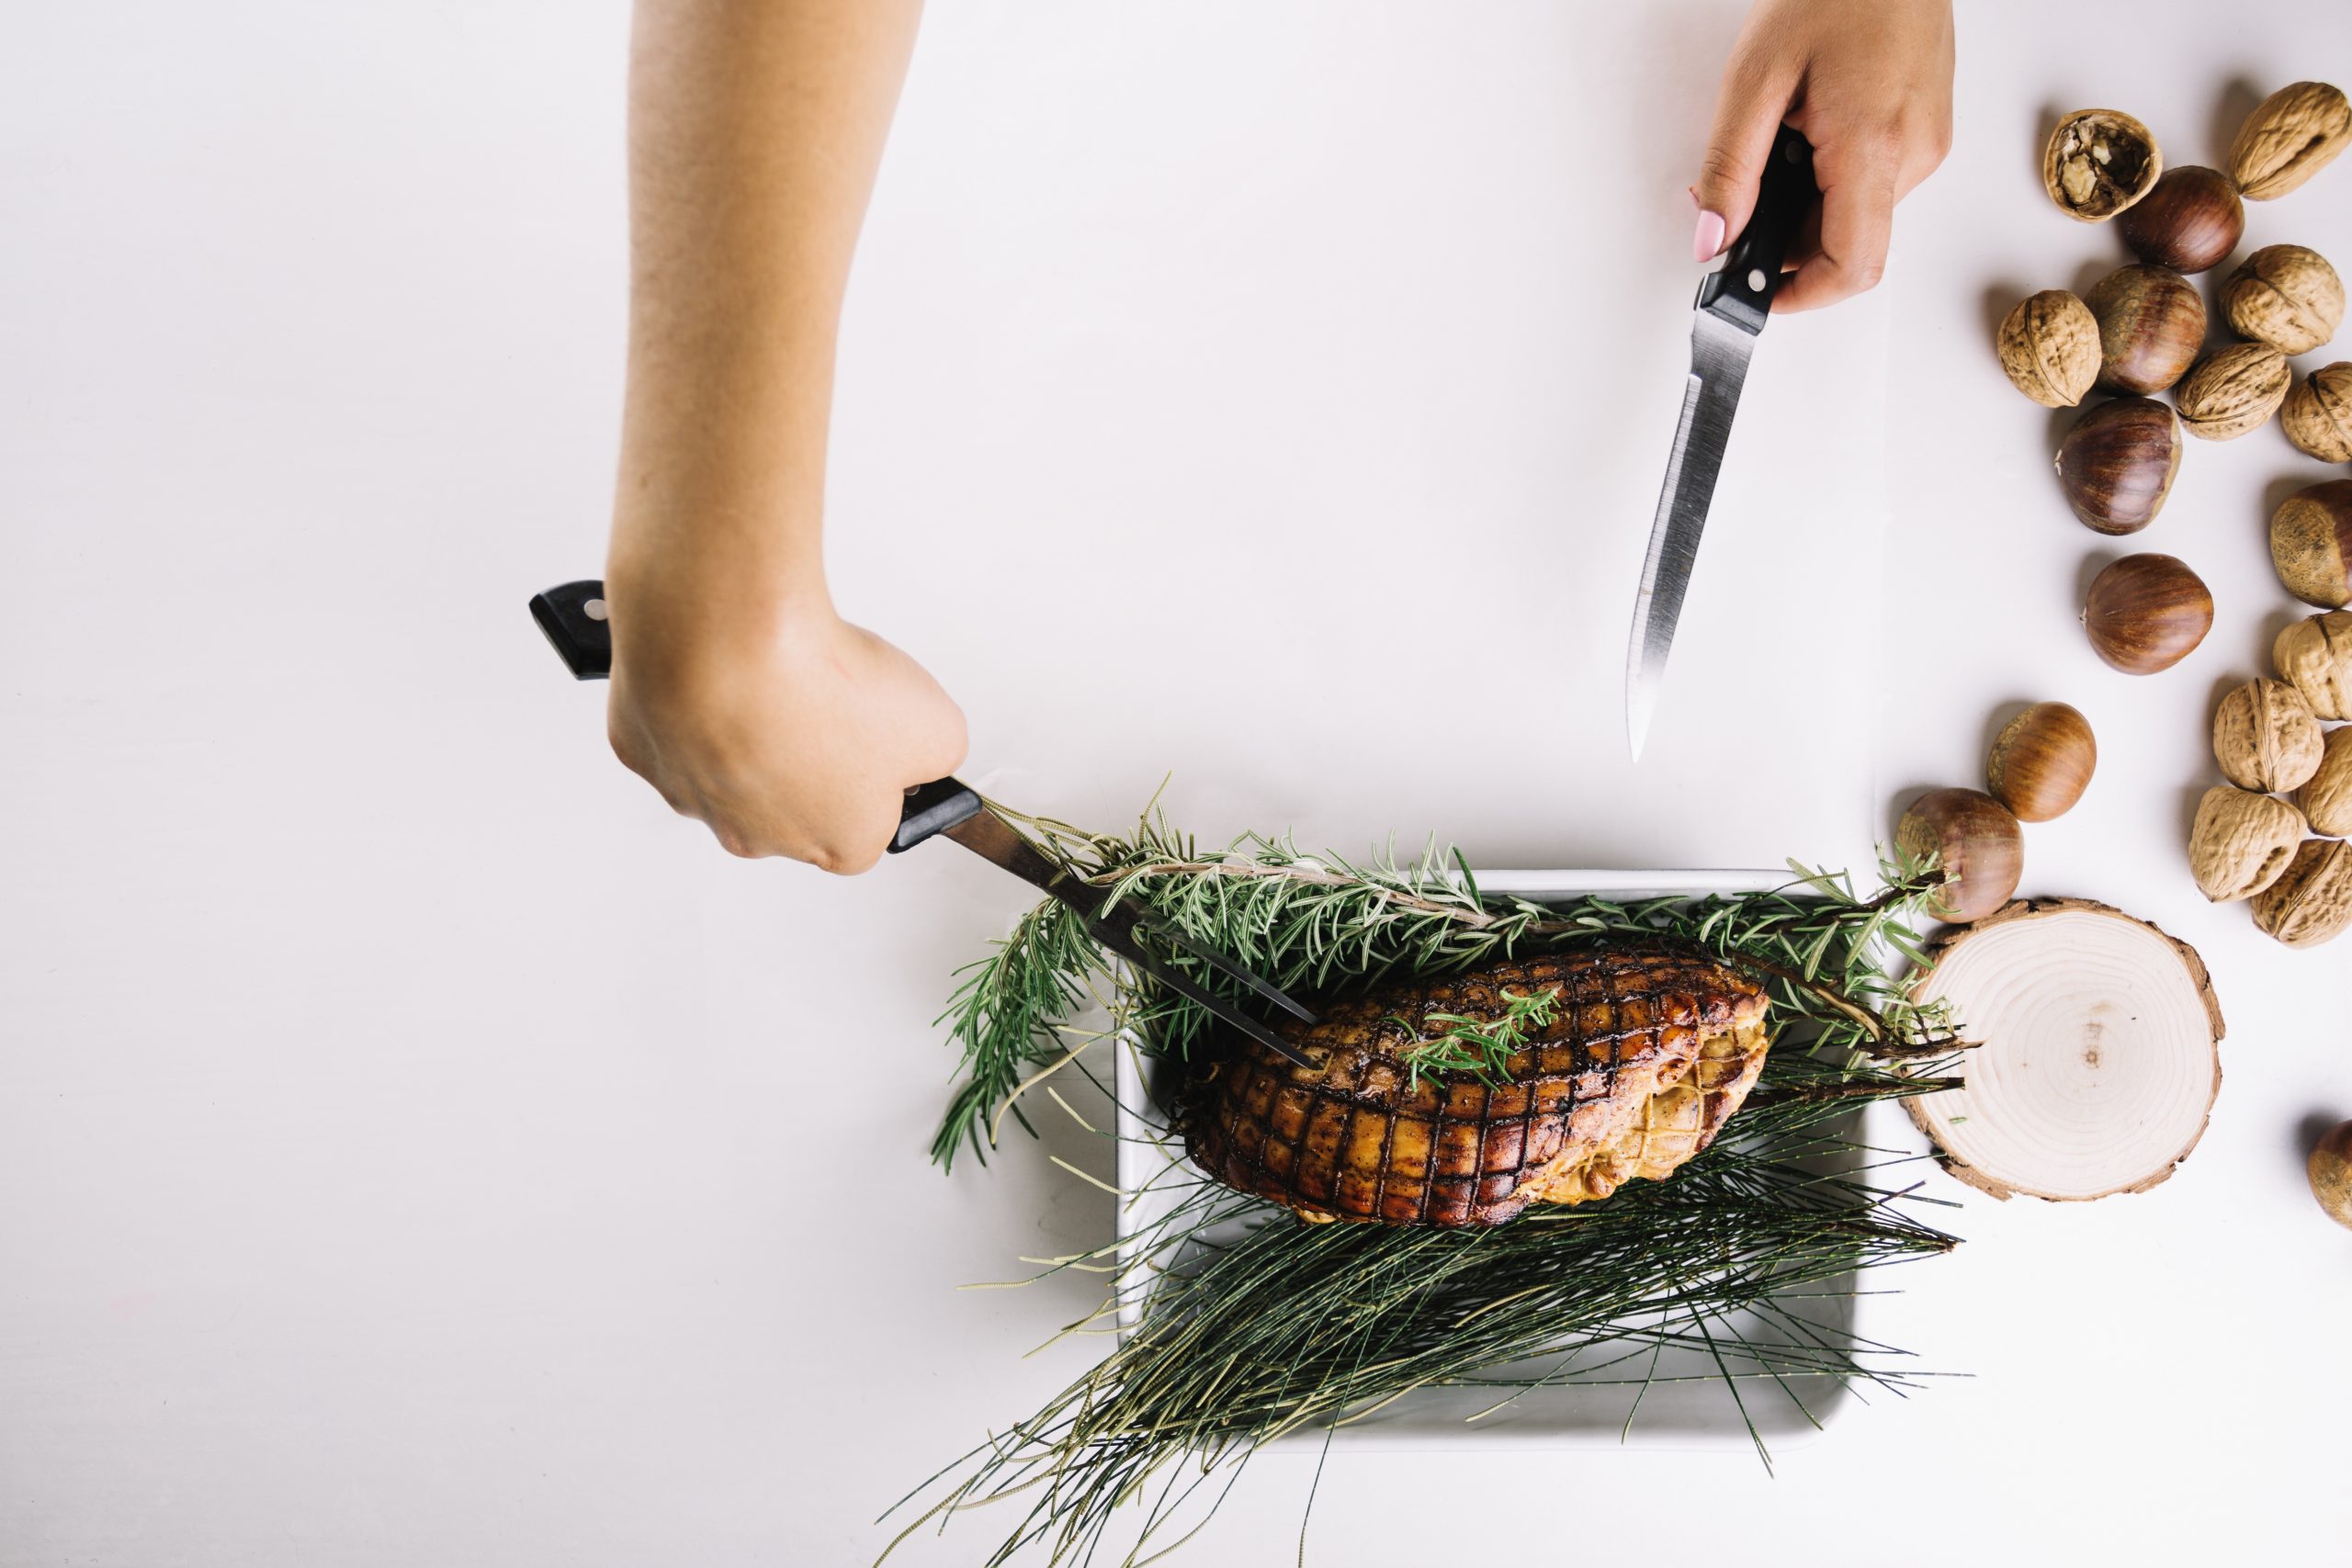
Searing is one of the most important techniques in cooking, allowing you to develop deep flavors, beautiful caramelization, and a rich crust on meats and vegetables. Whether you’re cooking steak, chicken, or fish, mastering searing will elevate your culinary skills. Follow this step-by-step guide to learn the art of searing.
What is Searing?
Searing is the process of cooking the surface of food at high heat to create a flavorful, browned crust. It locks in juices and enhances the texture and taste of the food. Searing is often used as the first step in cooking, especially for meats, before finishing the cooking process with other methods such as roasting or braising.
Step 1: Choose the Right Pan
The key to successful searing is using the right pan. Cast-iron skillets or stainless steel pans work best as they retain and distribute heat evenly.
Tip:
- Make sure the pan is large enough to fit your ingredients without crowding them, as overcrowding will cause steaming instead of searing.
Step 2: Preheat the Pan
Searing requires high heat, so preheat your pan on medium-high to high heat. A properly heated pan will help develop a nice, crisp crust.
Tip:
- To check if the pan is hot enough, drop a small amount of water into the pan. If it sizzles immediately, the pan is ready.
Step 3: Prepare the Ingredients
Before you sear, ensure your food is dry. Pat meats, fish, or vegetables dry with paper towels to remove excess moisture. Moisture can create steam and prevent a crispy, golden crust from forming.
Tip:
- Season your ingredients with salt, pepper, or your preferred spices just before placing them in the pan. Salt helps to draw out moisture, aiding in the browning process.
Step 4: Add Oil to the Pan
Choose an oil with a high smoke point, such as vegetable oil, canola oil, or avocado oil. Add a thin layer of oil to the pan and heat it until shimmering but not smoking.
Tip:
- Avoid olive oil for searing because it has a lower smoke point and can burn at high temperatures.
Step 5: Place the Food in the Pan
Carefully place your food in the pan. When placing meat or fish, do so away from you to avoid splattering hot oil. Avoid moving the food around once it’s in the pan, as this will disrupt the searing process.
Tip:
- Let the food sear without touching it for a few minutes. It should naturally release from the pan once it’s ready to flip.
Step 6: Sear the Food
Allow the food to sear for 2-5 minutes per side, depending on the thickness of the item. For steaks, a golden-brown crust should form, indicating that the food has been seared to perfection.
Tip:
- If you’re cooking thick cuts of meat, consider finishing the searing process in the oven after a couple of minutes on each side to ensure the center is cooked through.
Step 7: Flip and Repeat
Once the food has developed a nice crust, flip it to sear the other side. Continue to sear until both sides are brown and crispy.
Tip:
- For added flavor, you can add a few knobs of butter, garlic, and fresh herbs (such as thyme or rosemary) to the pan during the last minute of searing. Tilt the pan to spoon the melted butter over the food for extra richness.
Step 8: Let it Rest
After searing, it’s essential to let the food rest for a few minutes to allow the juices to redistribute. This is especially important for meats like steak, chicken, or pork.
Tip:
- Resting allows the food to retain its juices, making it more tender and flavorful.
Final Thoughts
Mastering the art of searing takes practice, but once you’ve nailed the technique, you’ll be able to create delicious, restaurant-quality dishes. With these steps, you can achieve a perfect, golden-brown crust every time, sealing in the natural flavors of the food. Happy cooking!


